txrxcode

SRE with touch of AI

Category: Uncategorized

  • The Circuit Beneath the Code

    The Circuit Beneath the Code

    There is a line that most software developers never actually cross. It sits right between the terminal and the physical world, tucked between the files you can edit and the things you cannot. On one side, you have your code. On the other side, you have actual electrons moving through metal.

    Most developers spend their entire careers on the safe side of that line. They do perfectly fine there too. However, the ones who decide to cross it usually come back with a completely different perspective on how computers actually function.

    Your Code is Just a Script for Electrons
    Here is an uncomfortable truth that electronics will teach you: code does not actually run. Electricity does.

    Your program might be elegant and perfectly architected, but at the end of the day, it is just a sequence of instructions that move voltage levels across silicon gates. A 1 is not just an abstract concept. It is a specific threshold of electrical potential. An if statement is not logic in a vacuum. It is charge being routed through transistors so small that they are measured in atoms.

    Most developers never need to know this until the abstraction breaks. Suddenly, you are staring at a bug that makes zero sense. Maybe it is a race condition that only happens on specific hardware or a timing issue that no amount of code review can fix. These bugs do not live in your program. They live in the messy boundary between your code and the physical world.

    The developer who has used a multimeter or traced a short circuit has an instinct that others lack. They understand that the machine is not magic. They know it can lie to you in very physical ways.

    The Magic Trick of Abstraction
    Modern software development is an incredible stack of layers. You write in a high level language. That language runs on a runtime. The runtime talks to an Operating System. The OS talks to drivers. The drivers talk to hardware. The hardware is made of circuits, and those circuits are paths for electrons.

    Each layer hides the one beneath it. This is a massive gift because it allows a single person to build things that would have required a massive team fifty years ago. You do not need to understand memory addressing to build a web app. You do not need to know about interrupt handling to write an API.

    But this abstraction also creates a specific kind of blindness. When the layer beneath you starts acting up, you have nowhere to look. You can only stare at your own code and wonder why the universe is broken. Electronics is the practice of pulling back that curtain on purpose. You choose to understand the foundation because you might need that knowledge at the worst possible moment.

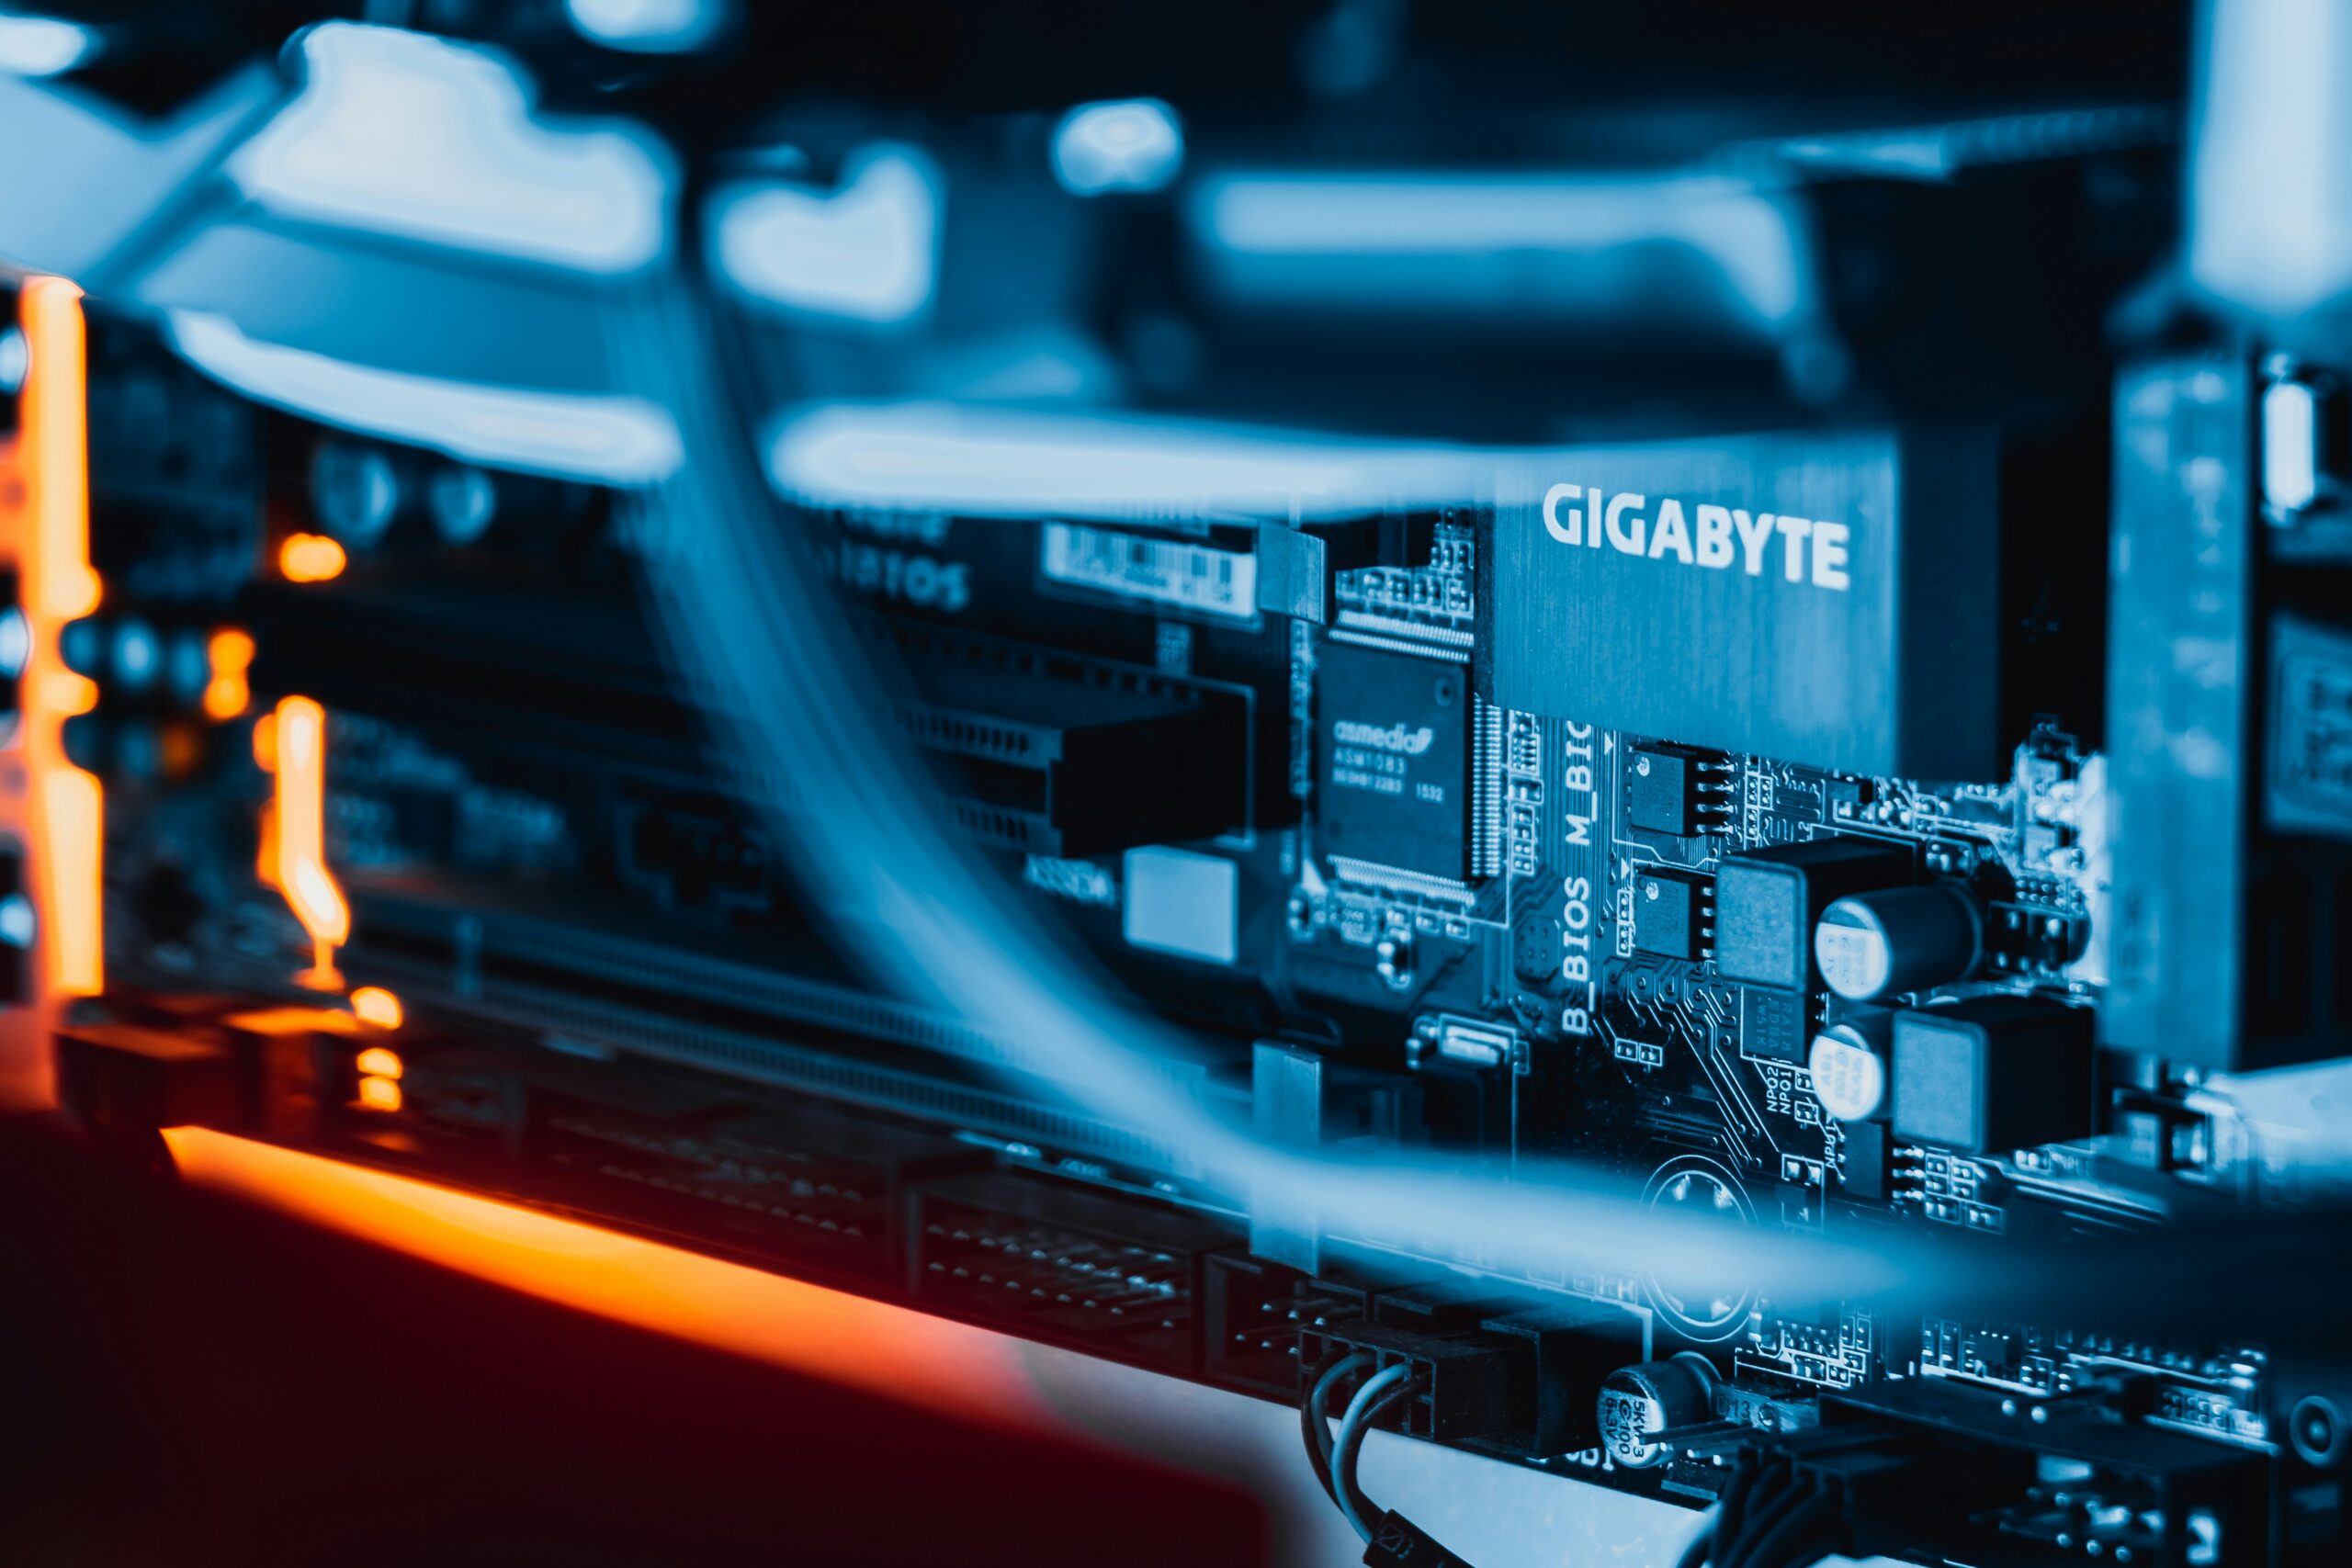
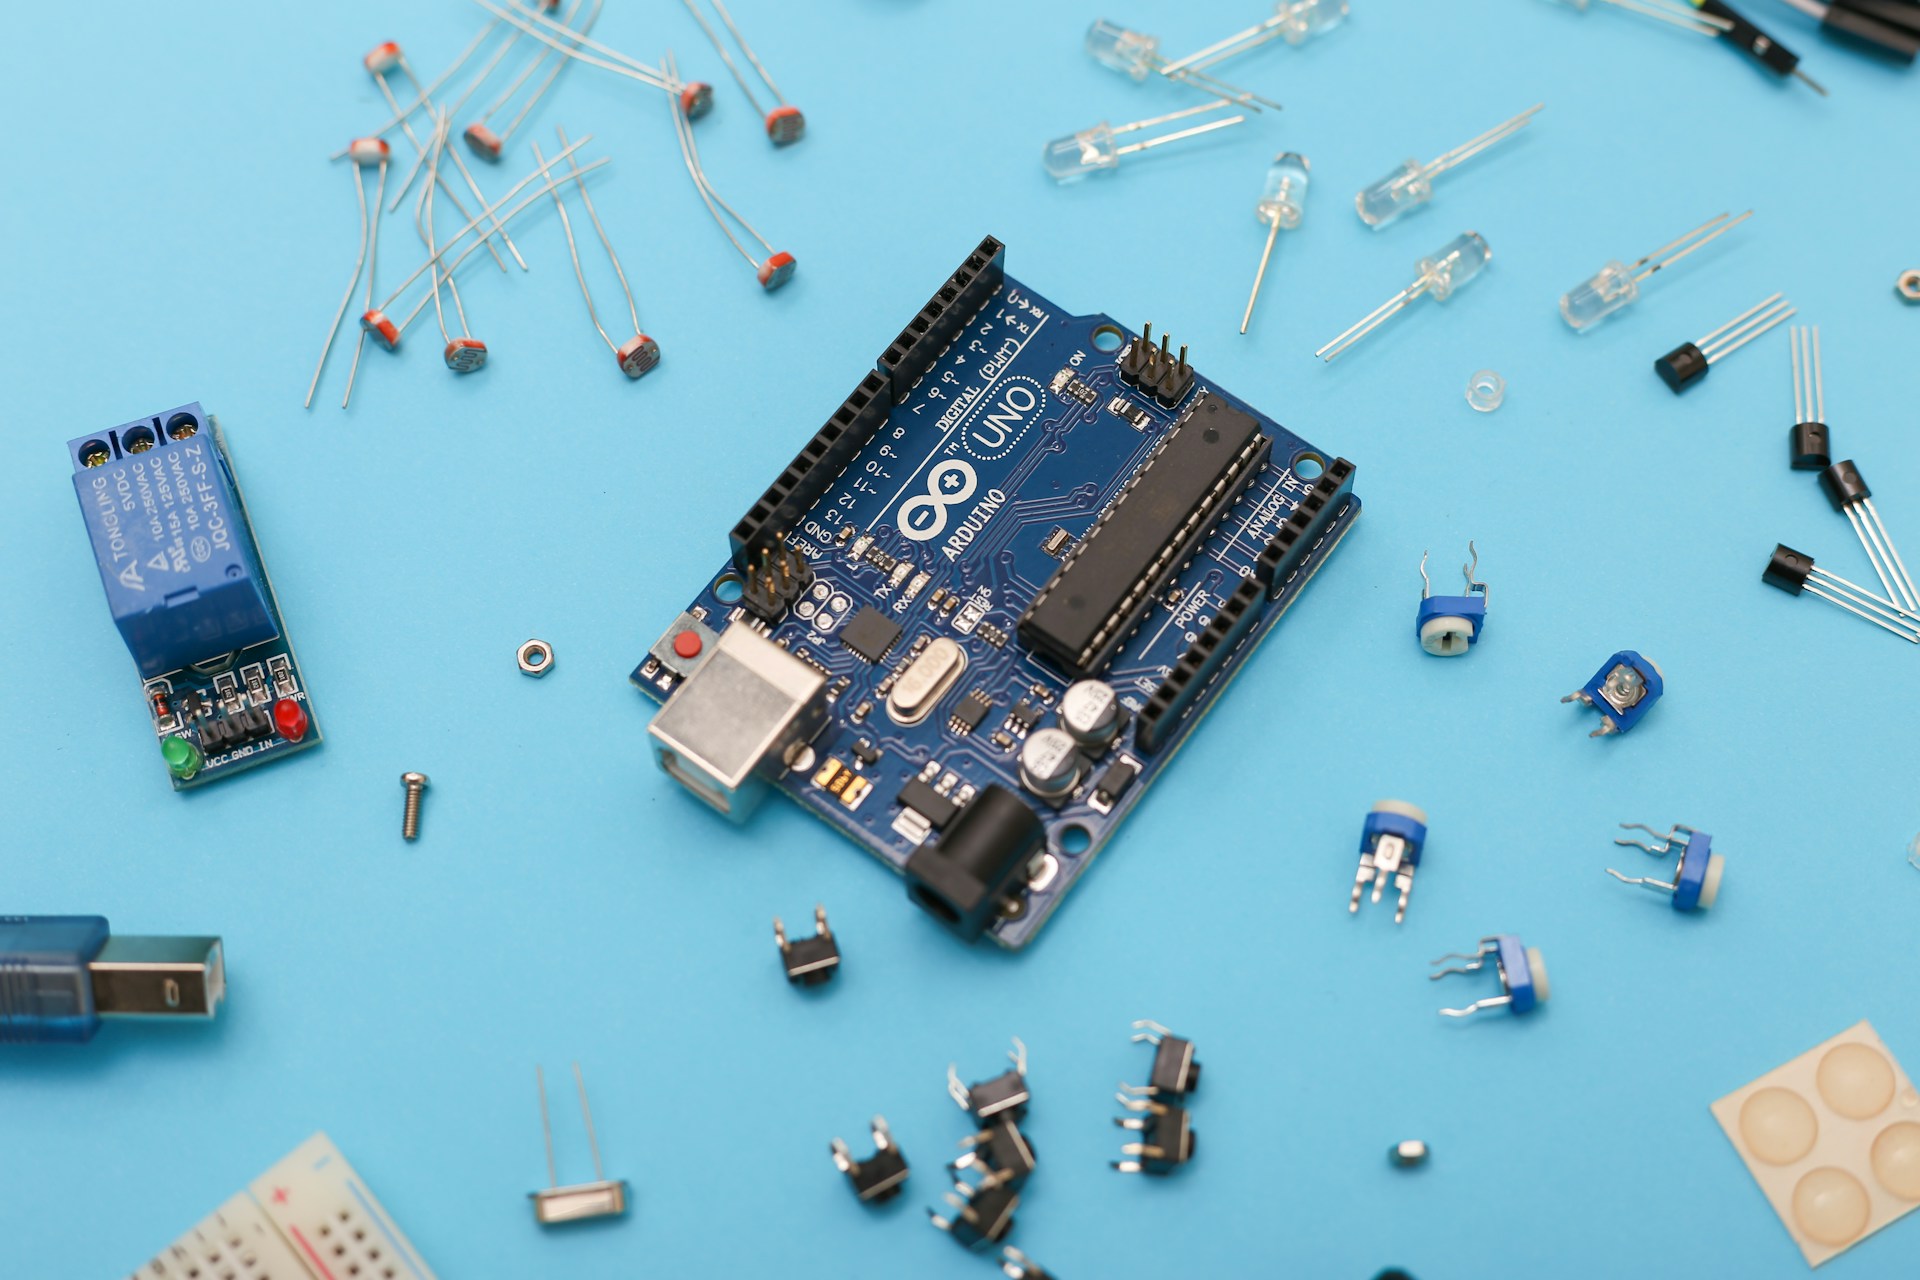
    Lessons From the Breadboard
    When you wire up your first circuit with a simple LED, a resistor, and a battery, you have to face a reality that software rarely shows you: consequences are immediate and physical.

    Getty Images

    If you wire it incorrectly, the light simply stays off. There is no stack trace to read. There are no error messages or log files to check. The universe just refuses to cooperate. You have to use first principles to figure out why.

    This teaches a level of debugging patience that no coding bootcamp can match. You learn to form a hypothesis, test it, and isolate variables. You have to accept that the problem is almost never where you first thought it was. While this is how we debug software too, the feedback loop in electronics is so direct and unforgiving that the lesson sticks.

    Hardware is also incredibly humbling. Code is easy to change. You can refactor it or hit undo whenever you want. A poorly done solder joint is just a poorly done solder joint. Hardware teaches you that some decisions have actual weight. It encourages you to think before you act rather than just clicking and iterating forever.

    When Code Meets Physical Reality
    If you have ever written firmware, you have felt that strange sensation of code directly controlling the world. A variable does not just store a number. It determines if a motor spins or if a sensor takes a reading.

    This experience changes how you view software. You realize that every program you have ever written has always been talking to hardware. You just had enough layers of abstraction in the way that you never felt the conversation happening.

    Understanding electronics closes that gap. It turns you into a developer who sees memory as a physical constraint rather than an infinite resource. You start to see timing as a physical reality instead of just a performance metric. Most importantly, you start to see failure as the default state of matter rather than just an edge case.

    Becoming a More Honest Developer
    There is an old engineering saying about knowing the limits of your tools.

    Developers who do not understand electronics often treat the machine as if it is infinitely reliable and fast. They see it as pure logic that exists outside of physics. This is why they are so surprised when hardware fails or when latency becomes a physical problem.

    The “honest” developer carries a more accurate model of the world. They know the machine is a physical object. It is subject to heat, interference, voltage drops, and simple wear and tear. They design their systems differently because of this. They are more defensive and more humble because they respect the reality that their code lives in.

    The circuit was always there underneath your code. Most people just never bother to look. Those who do look will never think about software the same way again.

  • The Home Lab as a Developer’s Soul

    The Home Lab as a Developer’s Soul

    There is a certain kind of developer who, late on a Saturday evening, finds themselves not writing code — but staring at a blinking cursor in a terminal, configuring a network bridge on a machine that cost them forty dollars at a garage sale. Their spouse is asleep. Their IDE is closed. They are happier than they’ve been all week.

    This is the home lab builder. And there’s something worth understanding about why.


    The Problem with Only Writing Code

    Software development, professionally, is a narrowing act. You pick a stack. You learn its rhythms. You get good at solving problems within a context that someone else designed — cloud infrastructure maintained by someone else, deployment pipelines built by someone else, DNS resolving through servers you’ll never touch.

    You become, in a sense, a tenant. You live in someone else’s house and are not permitted to knock down walls.

    This is efficient. This is pragmatic. And over time, it quietly hollows something out.

    Because the original impulse that drew most of us to technology was not efficiency. It was curiosity. The desire to know not just how to use the tool, but what happens when you take it apart — and whether you can put it back together into something new.


    A Lab is a Philosophy, Not a Setup

    Techno Tim — the engineer and creator who has spent years documenting his home lab journey — describes a home lab simply as “a test environment to learn about technology without the fear of breaking anything.” But read that again, slowly. Without the fear of breaking anything.

    That phrase is deceptively radical.

    In production, you minimize risk. In your job, you defend stability. You write tests, you add retries, you open tickets, you follow process — all to prevent the system from breaking. And this is right. And this is also a cage.

    The home lab is the opposite of that philosophy. It is a place where breaking is the point. Where a misconfigured firewall rule that takes down your entire network at 11pm is not a failure — it is a curriculum. Where you run early-access firmware in production (sometimes twice, if Techno Tim’s self-described regrets are any guide), not because you’re reckless, but because you’re learning what “reckless” actually means in practice.

    The home lab teaches you to be comfortable with chaos — and in doing so, makes you dramatically better at preventing it professionally.


    You Don’t Own What You Don’t Understand

    There is a deeper philosophical thread here, one that the self-hosting movement has articulated clearly: you do not truly own what you do not understand.

    When your data lives exclusively in the cloud, you are not the steward of it — you are a subscriber to it. When your deployments are managed entirely by a SaaS platform, you are not an engineer — you are an operator of someone else’s abstraction.

    Running your own DNS, your own reverse proxy, your own Kubernetes cluster at home is not about being anti-cloud. It is about being literate. It’s the difference between knowing how to drive and knowing how a car works. Most of the time, you just need to drive. But there will come a moment — a breakdown in the rain, far from help — where that deeper knowledge is the only thing that gets you home.

    The home lab is where you earn that literacy before you need it.


    The Identity of Tinkering

    There’s something else going on too — something less practical and more human.

    Techno Tim, in a candid conversation, described how after becoming a software engineer, he realized he had stopped tinkering with infrastructure. The code was there. The career was there. But something felt missing. He came back to the home lab not to gain skills — though that happened — but because he missed it. He missed the physical proximity to the machine. The blinking lights. The whirring fans. The sense that he was building something real.

    This is not nostalgia. This is identity.

    Software developers live in the abstract. Our work exists as text files that compile into invisible processes. There is something quietly alienating about a craft that produces no artifact you can hold. The home lab reintroduces the physical. A rack of servers is hardware you chose, installed, and maintain. It has weight. It consumes power you pay for. It is yours in a way that a Lambda function will never be.

    The home lab asks you to be a generalist again, at a time when the industry rewards ever-narrower specialization. It demands that you care about networking, storage, power, security, backups, monitoring, and DNS — not because a ticket told you to, but because you chose to.

    That choice is the thing.


    On Regrets and Learning in the Dark

    One of the most interesting things Techno Tim documented from his years of homelabbing was not his wins — the Kubernetes clusters, the GitOps pipelines, the petabytes of storage. It was his regrets. Back up everything you can’t recreate. Don’t run early access firmware in production.

    These are lessons that sound obvious. They are obvious — after you’ve lost data at midnight because you ignored them. There is no tutorial that teaches this as well as experience does. And experience, in a home lab, is cheap. You lose a weekend’s work, not a company’s database. You feel the consequence in a contained space, and you carry the lesson forward forever.

    This is the philosophical heart of it: the home lab is a place where mistakes are affordable, so that in the places where they are not, you have already made them.


    The Question to Ask Yourself

    If you’re a software developer who has never spun up a home lab, the question is not “do I have time for this?” The question is: what kind of developer do I want to become?

    Do you want to be someone who inhabits abstractions built by others, or someone who understands the layers beneath? Do you want to carry the confidence of a person who has broken systems and rebuilt them — or the anxiety of someone who has only ever operated in safety?

    A Raspberry Pi costs forty dollars. A few VMs cost nothing but electricity. The knowledge gap between the developer who has run their own infrastructure and the one who hasn’t is, over a career, enormous.

    But more than the knowledge — there’s the spirit of it. The Saturday night with the blinking cursor, the misconfigured bridge, the quiet satisfaction when it finally routes correctly and you don’t entirely know why, but you know you’ll figure it out.

    That spirit is why you started doing this in the first place.

    Don’t let the job train it out of you.

  • Vim Tricks I Actually Use A No Plugin Survival Guide

    Vim Tricks I Actually Use A No Plugin Survival Guide


    Look, Vim has a reputation. People joke about not being able to quit it. But once you get past that, it’s honestly one of the fastest editors out there — if you know a few tricks.

    I’ve been collecting small Vim snippets over the years, and I figured it’s time to put them all in one place. These aren’t fancy plugins. They’re just little configs and hacks that make everyday editing way smoother. Think of this as a “copy, paste, and go” kind of guide.

    Let’s get into it.


    The Basics: Setting Up Your .vimrc

    Before anything else, you need a solid foundation. Your .vimrc file is basically Vim’s settings file — it lives in your home directory and loads every time you open Vim. Here’s a starter config that makes life easier:

    set hidden
    set nowrap
    set termguicolors
    filetype on
    let mapleader = ' '
    let maplocalleader = '\'
    nnoremap ; :

    What does all this do?

    • set hidden — This lets you switch between open files (buffers) without Vim yelling at you to save first. Super handy when you’re jumping between files.
    • set nowrap — Stops long lines from wrapping to the next line. If you’re working with data or wide code, this keeps things clean.
    • set termguicolors — Turns on true color support in your terminal. Your color schemes will actually look the way they’re supposed to.
    • filetype on — Tells Vim to detect what kind of file you’re editing (Python, JavaScript, etc.) so it can apply the right syntax highlighting and indentation.
    • let mapleader = ' ' — Sets your leader key to the spacebar. The leader key is like a custom modifier — you press it before other keys to trigger your own shortcuts. Space is easy to hit, so it’s a popular choice.
    • nnoremap ; : — This one’s subtle but great. It maps the semicolon to colon in normal mode. Since you use : constantly to run commands, this saves you from hitting Shift every single time.

    Handy Mappings from this config

    map <c-l> :.w !pbcopy<CR><CR>
    noremap <leader>aa gg<S-v><S-g>
    • <c-l> (Ctrl+L) — Copies the current line to your system clipboard using pbcopy. This is a macOS thing. If you’re on Linux, swap pbcopy with xclip -selection clipboard. Really useful when you need to grab a single line quickly.
    • <leader>aa — Selects the entire file. It goes to the top, enters visual line mode, then jumps to the bottom. Basically “select all.” Great for when you want to copy or format the whole file at once.

    Auto-Indent Your Entire File

    Ever open a file and the indentation is all over the place? Maybe you pasted something weird, or someone on your team doesn’t believe in consistent tabs. Here’s the fix:

    noremap <leader>= gg<S-v><S-g>=

    How it works, step by step:

    1. gg — Jump to the first line of the file
    2. <S-v> (Shift+V) — Enter visual line mode
    3. <S-g> (Shift+G) — Select all the way to the last line
    4. = — Auto-indent everything that’s selected

    So when you press Space then = (assuming space is your leader), Vim re-indents your entire file in one shot. It uses whatever indentation rules Vim knows for that file type. For Python, HTML, JavaScript — it just works.

    When to use this: After pasting code from the web, after a messy merge, or honestly just whenever things look off.


    Ctrl+Click Style Navigation

    You know how in VS Code you can Ctrl+Click on an import to jump to that file? You can get something similar in Vim:

    noremap <leader>gg gdf/gf
    
    augroup suffixes
        autocmd!
        let associations = [
                    \["javascript", ".js,.javascript,.es,.esx,.json"],
                    \["python", ".py,.pyw"]
                    \]
    augroup END

    What’s going on here:

    • <leader>gg — This mapping does gd (go to definition/first occurrence) then f/ (find the next slash) then gf (go to file under cursor). It’s a quick way to follow file paths in your code.
    • The suffixes augroup — This tells Vim which file extensions to try when you use gf. So if your JavaScript code says import something from './utils', Vim will know to look for utils.js, utils.es, etc.

    When to use this: When you’re navigating a project and want to quickly jump into imported files without leaving Vim. It’s not perfect like a full LSP setup, but for quick browsing it’s solid.


    Swap Lines Up and Down

    This one’s a classic. You want to move a line up or down — like reordering function arguments or shuffling list items. Instead of delete-paste-move-paste, here’s a cleaner way:

    function! s:swap_lines(n1, n2)
        let line1 = getline(a:n1)
        let line2 = getline(a:n2)
        call setline(a:n1, line2)
        call setline(a:n2, line1)
    endfunction
    
    function! s:swap_up()
        let n = line('.')
        if n == 1
            return
        endif
        call s:swap_lines(n, n - 1)
        exec n - 1
    endfunction
    
    function! s:swap_down()
        let n = line('.')
        if n == line('$')
            return
        endif
        call s:swap_lines(n, n + 1)
        exec n + 1
    endfunction
    
    noremap <silent> <C-Up> :call <SID>swap_up()<CR>
    noremap <silent> <C-Down> :call <SID>swap_down()<CR>

    The breakdown:

    • swap_lines is a helper that takes two line numbers and swaps their content.
    • swap_up moves the current line one position up (unless you’re already at the top).
    • swap_down moves the current line one position down (unless you’re at the bottom).
    • Ctrl+Up and Ctrl+Down trigger the swap.

    When to use this: Reordering imports, reorganizing lists, moving code blocks around. It feels natural — like dragging a line with your arrow keys.


    Align Text Without Plugins

    This is probably the nerdiest one, but it’s so satisfying. Say you have code like this:

    class Products(models.Model):
        name = models.CharField()
        price = models.DecimalField()
        description = models.TextField()
        created_at = models.DateTimeField()

    And you want all the = signs to line up neatly. Here’s the trick — no plugins needed:

    0f=20i<Space><Esc>020lvf=hx

    Step by step:

    1. 0 — Go to the first column
    2. f= — Find the next = on the current line
    3. 20i<Space><Esc> — Insert 20 spaces before the =
    4. 0 — Go back to the first column
    5. 20l — Move forward 20 columns
    6. vf=hx — Select and delete everything between your cursor and the =

    The result? Your = sign ends up exactly at column 20. Do this on each line and everything lines up perfectly.

    When to use this: When you want clean, aligned assignments or hash maps and you don’t want to install an alignment plugin. It’s a bit manual, but once you get the muscle memory, it’s fast. You can also record it as a macro (qq to start, q to stop, @q to replay) and run it on multiple lines.


    Putting It All Together

    Here’s the thing about Vim — you don’t need 50 plugins to be productive. A handful of smart mappings and a clean .vimrc can take you really far. Start with the basics:

    1. Set up your .vimrc with the essentials (hidden buffers, leader key, true colors)
    2. Map common actions like select-all and copy-to-clipboard
    3. Learn the indent trick — you’ll use it more than you think
    4. Add line swapping — it’s a small thing that saves a lot of time
    5. Try the alignment hack — even if just to impress yourself

    The best part? All of these are just plain Vimscript. No dependencies, no package managers, no compatibility issues. They work everywhere Vim runs.

    Happy Vimming. And yes, it’s :wq to quit. You’re welcome.